PaxPowerGlove_en
日本語ページはこちら。
I want to touch objects in virtual space.
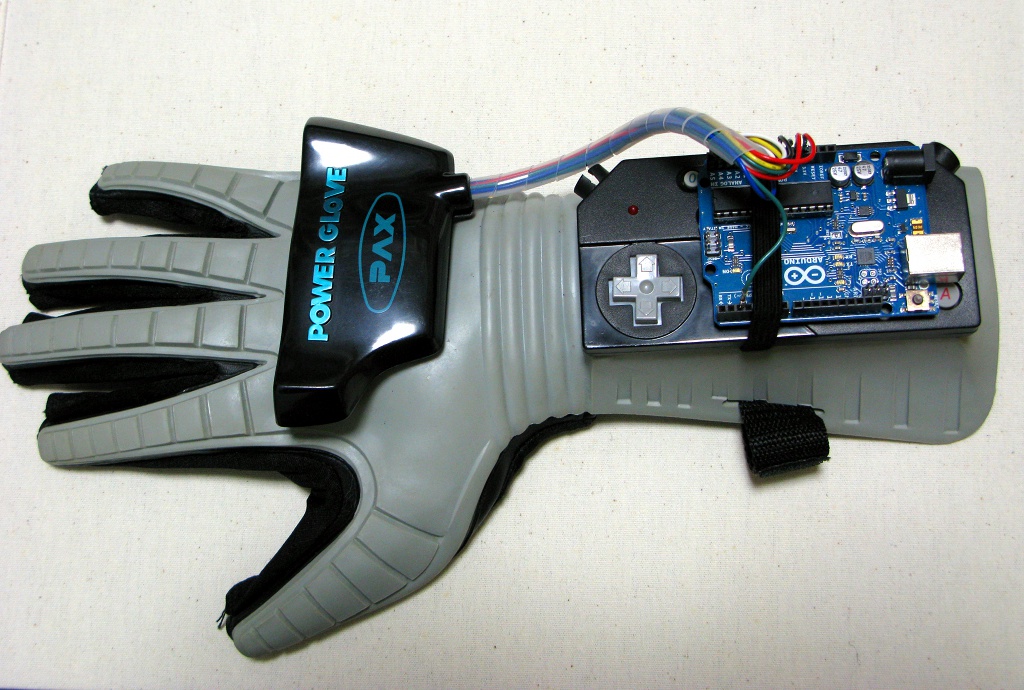
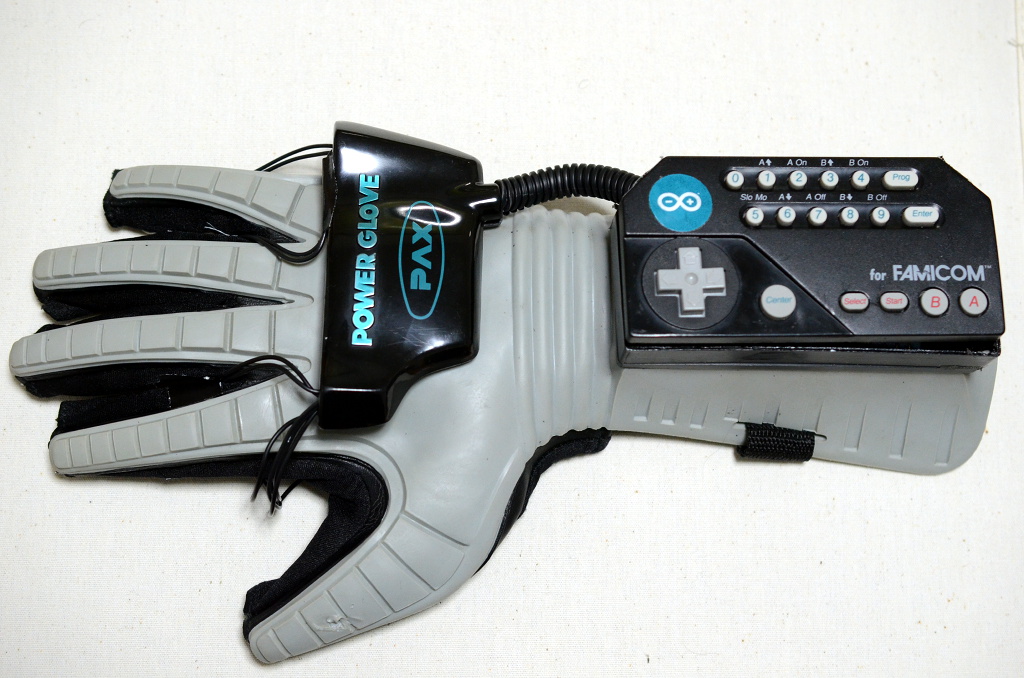
So I set motion sensor in PAX Power Glove, a legendary NES controller, to control the movement of my hand in the virtual space of Unity .
The original Power Glove generate ultrasonic waves from the two ultrasonic transducers at different times to realize the motion capture.
That idea was great. But it lacked accuracy. So I decided to use motion sensor.
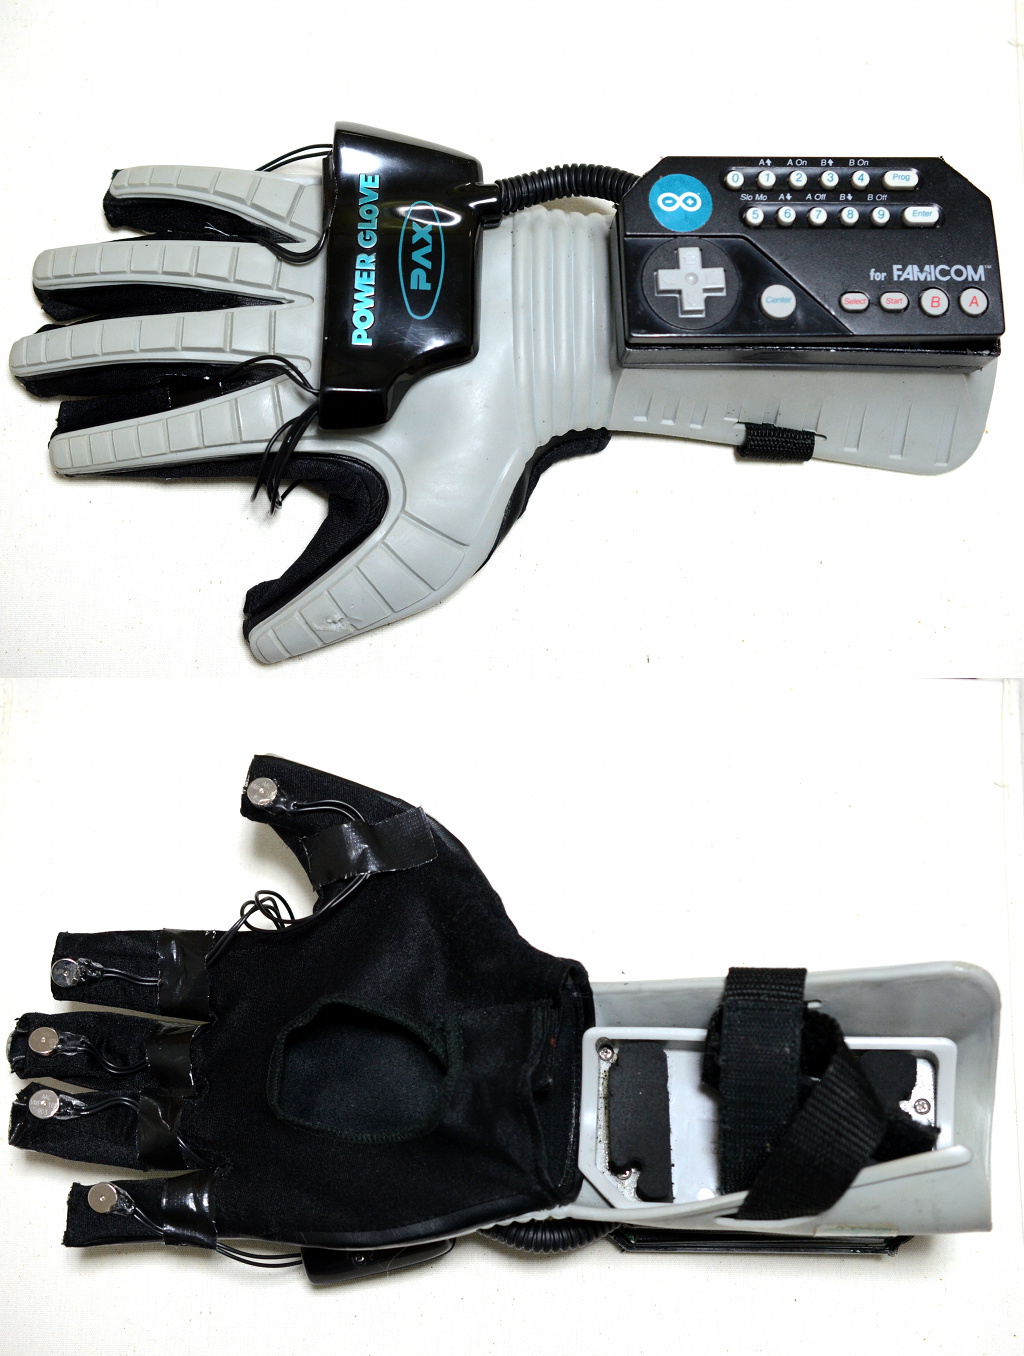
I used only flex sensor, out of original components.
So I set motion sensor in PAX Power Glove, a legendary NES controller, to control the movement of my hand in the virtual space of Unity .
I made that with following procedure.
- getting value of bending of fingers.
- detecting the movement of my hand with motion sensor.
- Integrating 1 and 2.
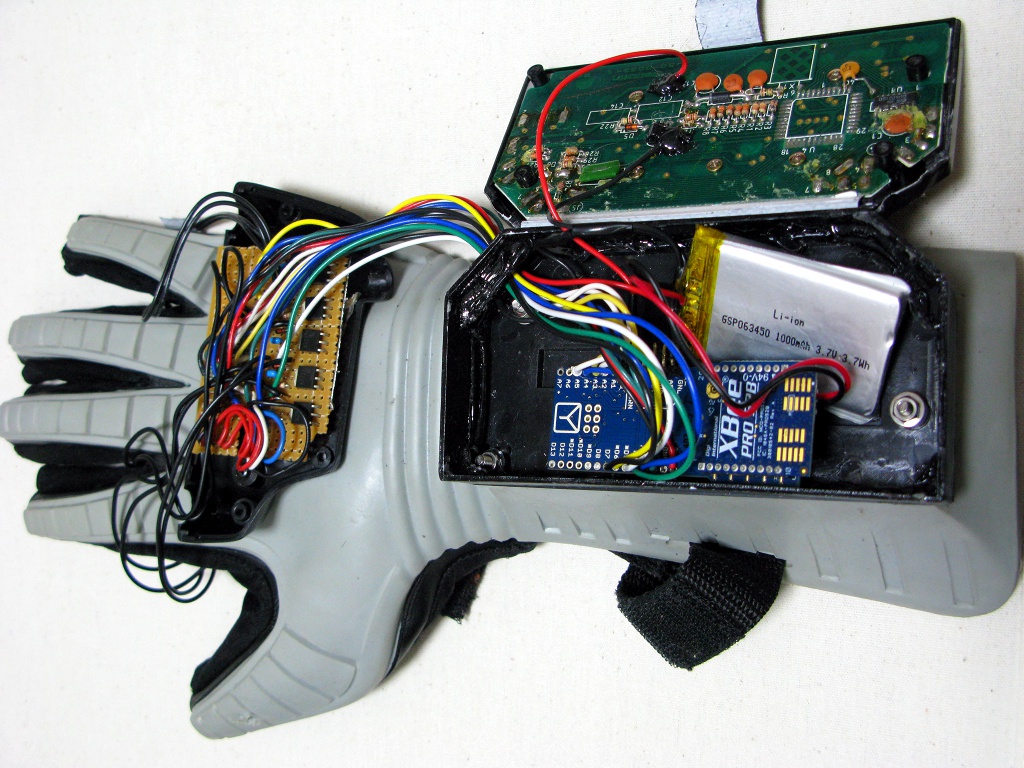
- communication by XBee.
- Integrating 3 and 4.
- realizing haptics with vibration motor.
- Integrating 5 and 6.
Materials
Hardware
| Item |
|---|
| Arduino |
| PowerGlove |
| Resistance (100k ohm * 4) |
| MPU-9150 |
Sfotware
|Item| |---|---| |Arduino IDE| |Unity| |I2C Device Library| |C# script for Unity3d|
Step 1: detecting the movement of my hand with motion sensor.
Hardware
- Remove solder. Take off wires from board.
- Connect red wires to GND. .1 Connect Other wires to resistance to Arduino's 5V. Connect Analog input between wire and resistance.
| finger | wire | analog input |
|---|---|---|
| thumb | blue | A0 |
| index finger | black | A1 |
| middle finger | white | A2 |
| ring finger | brown | A3 |
| littte finger | no wire | - |
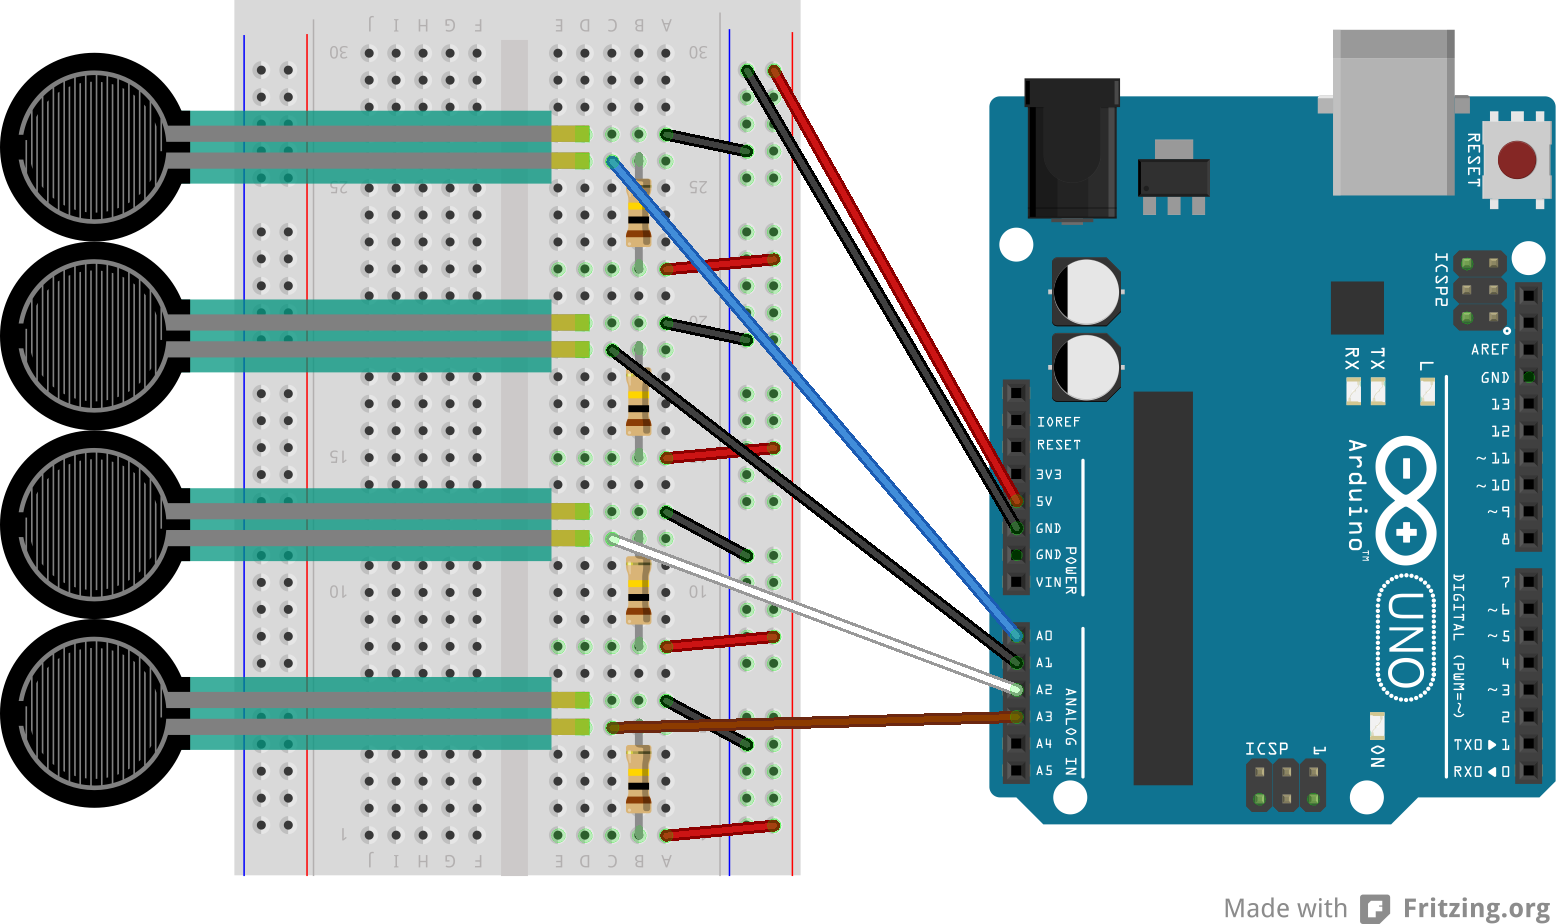
曲げセンサは出力が抵抗値なので、同程度の抵抗器を使うことで抵抗値→電圧値に変換してArduinoに入力する、という回路が上記です。
Software
- Write following sketch to Arduino.
Arduino sketch
int fingers[4];

void setup() {
  Serial.begin(9600);
}

void loop() {
  int i;
  fingers[0] = constrain(map(analogRead(A0), 678, 760, 0, 10), 0, 10) * 10;
  fingers[1] = constrain(map(analogRead(A1), 835, 935, 0, 10), 0, 10) * 10;
  fingers[2] = constrain(map(analogRead(A2), 770, 905, 0, 10), 0, 10) * 10;
  fingers[3] = constrain(map(analogRead(A3), 750, 910, 0, 10), 0, 10) * 10;

  for (i = 0; i < 4; i++) {
    Serial.print("finger");
    Serial.print(i);
    Serial.print(":");
    Serial.print(fingers[i]);
    Serial.print("\t");
  }
  Serial.println();
  delay(200);
}
NOTE: resistance may be different with your PowerGlove.
Step 2: detecting the movement of my hand with motion sensor.
for details, see モーションセンサ . (written in Japanese)
Step 3: Integrating 1 and 2.
Hardware
- Integrate circuit of 1 and 2.
Software(1):Arduino sketch
- Modify sketch, which you made at モーションセンサ .
- Modify line 286-297.
        #ifdef OUTPUT_READABLE_QUATERNION
            // display quaternion values in easy matrix form: w x y z
            mpu.dmpGetQuaternion(&q, fifoBuffer);
            Serial.print("quat\t");
            Serial.print(q.w);
            Serial.print("\t");
            Serial.print(q.x);
            Serial.print("\t");
            Serial.print(q.y);
            Serial.print("\t");
-            Serial.println(q.z);
+            Serial.print(q.z);
+            Serial.print("\t");
+            Serial.print(constrain(map(analogRead(A0), 678, 760, 0, 10), 0, 10) * 6);
+            Serial.print("\t");
+            Serial.print(constrain(map(analogRead(A1), 835, 935, 0, 10), 0, 10) * 6);
+            Serial.print("\t");
+            Serial.print(constrain(map(analogRead(A2), 770, 905, 0, 10), 0, 10) * 6);
+            Serial.print("\t");
+            Serial.println(constrain(map(analogRead(A3), 750, 910, 0, 10), 0, 10) * 6);
        #endif
ソフトウェアの準備(2):Unityプロジェクト
- Download following zip, and open PaxPowerGlove.unity.
Step 4: communication by XBee.
for details, see XBee . (written in Japanese)
Step 5: Integrating 3 and 4.
さあついに、上記3と4を統合します。
- Modify Arduino sketch.
    #if I2CDEV_IMPLEMENTATION == I2CDEV_ARDUINO_WIRE
        Wire.begin();
-        TWBR = 24; // 400kHz I2C clock (200kHz if CPU is 8MHz)
+        TWBR = 12; // for Arduino Fio
    // initialize serial communication
    // (115200 chosen because it is required for Teapot Demo output, but it's
    // really up to you depending on your project)
-    Serial.begin(115200);
+    Serial.begin(57600); // for Arduino Fio
Step 6: realizing haptics with vibration motor.
Hardware

Software
W.I.P.
char c = Serial.read();
if (c != -1) {
  c -= '0';
  for (int i = 0; i < 5; i++) {
    if ((c & 0b00010000) != 0) {
        digitalWrite(3, HIGH);
    }
    if ((c & 0b00001000) != 0) {
        digitalWrite(4, HIGH);
    }
    if ((c & 0b00000100) != 0) {
        digitalWrite(5, HIGH);
    }
    delay(7);
    digitalWrite(3, LOW);
    digitalWrite(4, LOW);
    digitalWrite(5, LOW);
    if ((c & 0b00000010) != 0) {
        digitalWrite(6, HIGH);
    }
    if ((c & 0b00000001) != 0) {
        digitalWrite(7, HIGH);
    }
    delay(7);
    digitalWrite(6, LOW);
    digitalWrite(7, LOW);
  }
}
Step 7: Integrating 5 and 6.
W.I.P.
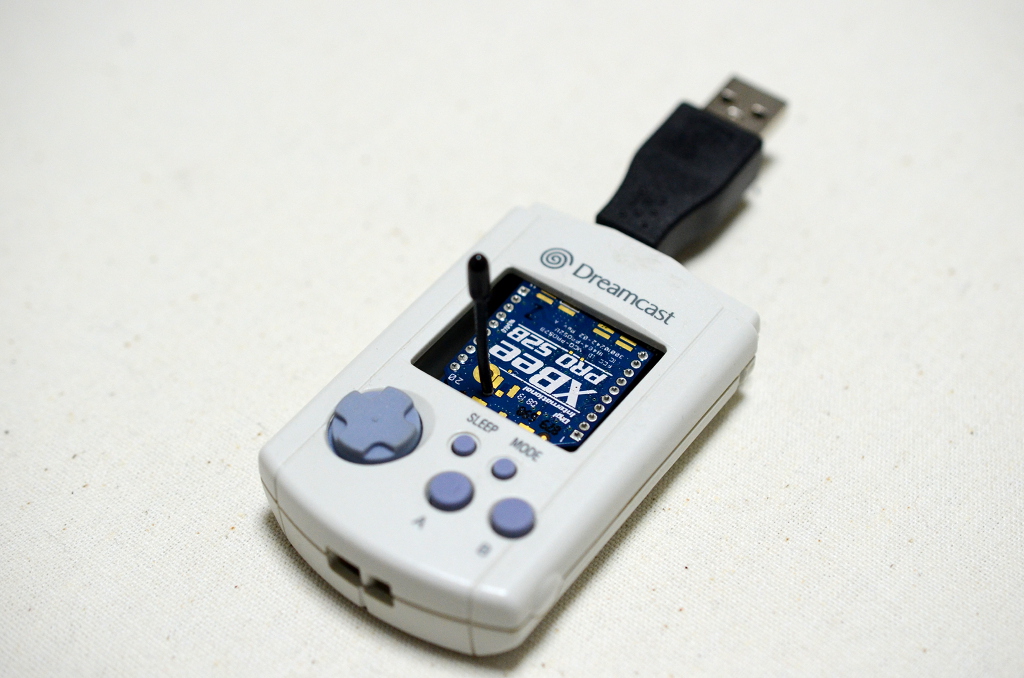
Prototypes